 A picture is worth a thousand words—or in the case of real estate, it might be worth a few hundred-thousand dollars, depending on the sale price of a home. First impressions matter, and since the majority of buyers start their search online, their first impression is cemented by property photos. So, why is it that some agents are still taking photos of dark corners with their mobile phones? It's a mystery.
To get a home sold—and quickly—agents need to step up their photography strategy. Whether through hiring a photography service or in-house professional or investing in classes and equipment, real estate agents need to do the following before putting a home on the market:
- Light It Up
There's no excuse for dark and dreary photos. Step one? Put up all the shades and turn on all the lights. Yes, every single one. This is how you get rid of those unappealing shadows. And, the more light you let in, the bigger the rooms will appear. Of course, sometimes a home needs a little extra help if it’s a cloudy day or the sun is blocked by surrounding homes or buildings—that's where camera accessories come into play.
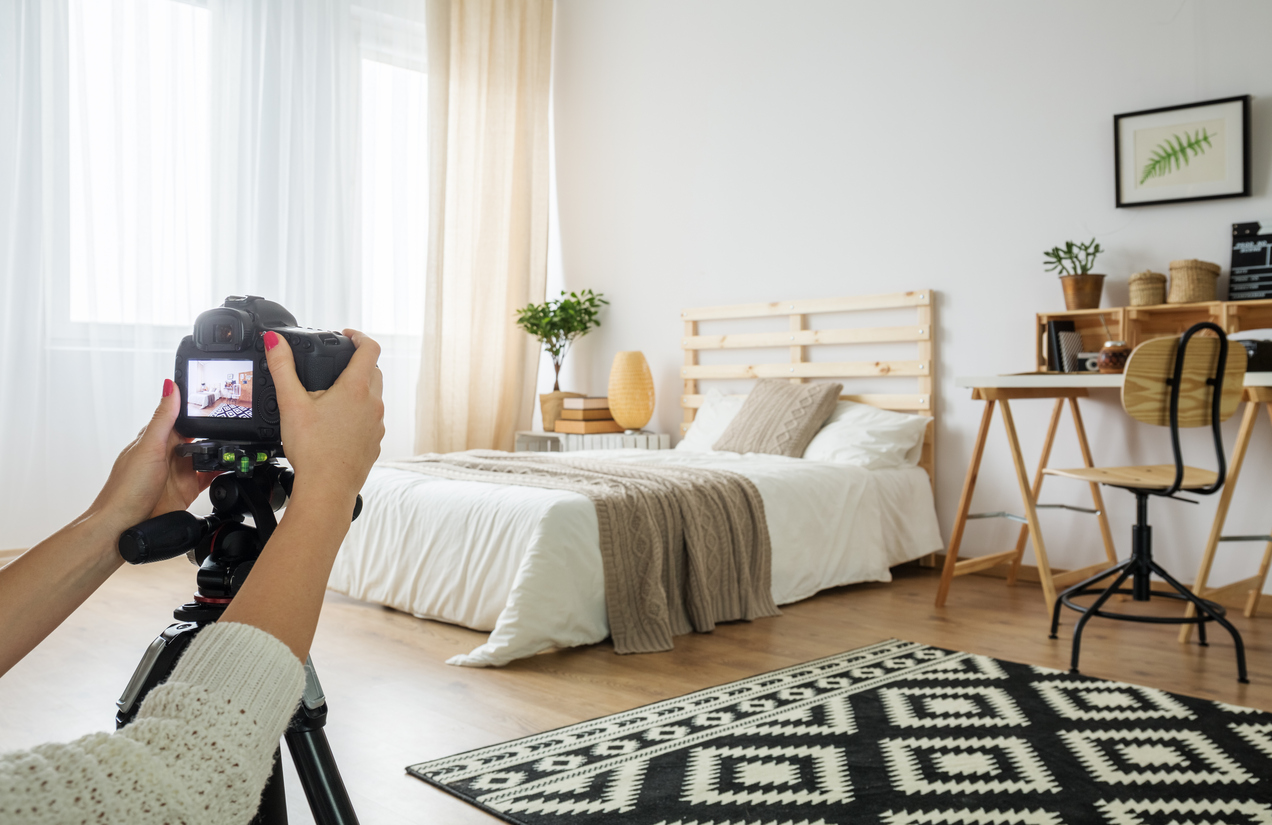
Invest in a high-quality handheld flash that you can point at areas of the room that are still a little dark. You're also going to need a wide-angle lens so buyers don't feel like they're looking at only corners. Alternatively, you can hire a professional photographer that provides their own lighting and camera equipment. A trick of the trade is taking multiple photos of the same angle with the flash pointed at different areas—you can use editing software to layer the photos and create a single, balanced shot.
- Clean Up and Stage
While the home should be market-ready by the time the photo session rolls around, your listing pictures should show an organized home that looks staged instead of lived in. Move furniture around to open up the space as much as possible. This doesn't mean you need to change the entire layout of the room, but moving a single ottoman out of the shot can make a big difference.
Also, clear off as many surfaces as possible. Tuck items away for each photo and tell homeowners you will put them right back after the shoot. This is especially important for the kitchen. Buyers want as much counter space as possible, and the appliances that are usually kept on counters—coffee makers, KitchenAids, toasters, etc.—can be clunky and take up a lot of space. Hide those away before photographing.
- Edit and Enhance
There's nothing wrong with a little photo editing if you aren't drastically altering what the home realistically looks like. Brightening up images or balancing the exposure should be the finishing touches to already great photos. Professional photography services typically include editing within their offerings. You can even ask them to add blue skies to pictures that show a cloudy day, or have them boost the appeal of a pool by digitally removing any unwanted leaves that fell in during the shoot. There are plenty of photo editing programs available if you want to do it yourself or hire someone in-house.
- Virtually Stage
If you're dealing with a vacant property or even just a few vacant rooms, this is not the time to skimp on photo editing. Adding in virtual furniture gives buyers an idea of the room's potential and how much can fit into the space. Virtually staged pictures should begin with photos that are bright, crisp and show the most amount of space. Many photography services provide virtual staging packages, but agents can also tackle this challenge on their own. Agents will have to keep style and flow in mind when virtually staging. Less is more, and simple, modern furniture works best so you're not alienating potential buyers with crazy, eclectic pieces.
- Create a Story
Your photographs and the order you arrange them in should work like a virtual tour of the property. Choose the most appealing exterior shot as your featured photograph and work your way around the home to showcase flow and home appeal. Always start with the most impressive rooms—the first photo of each room should be the most attractive. Only use photos that show the property in a positive light. If that means getting rid of some of your shots, then so be it.
You want your phone to ring as soon as a buyer looks at your listing photos. Any questionable photographs might make buyers hesitant to see the property in person. So, put away those mobile devices and pull out your wide-angle lenses and handheld flashes. Time is ticking and you only have seven seconds to make a good impression.